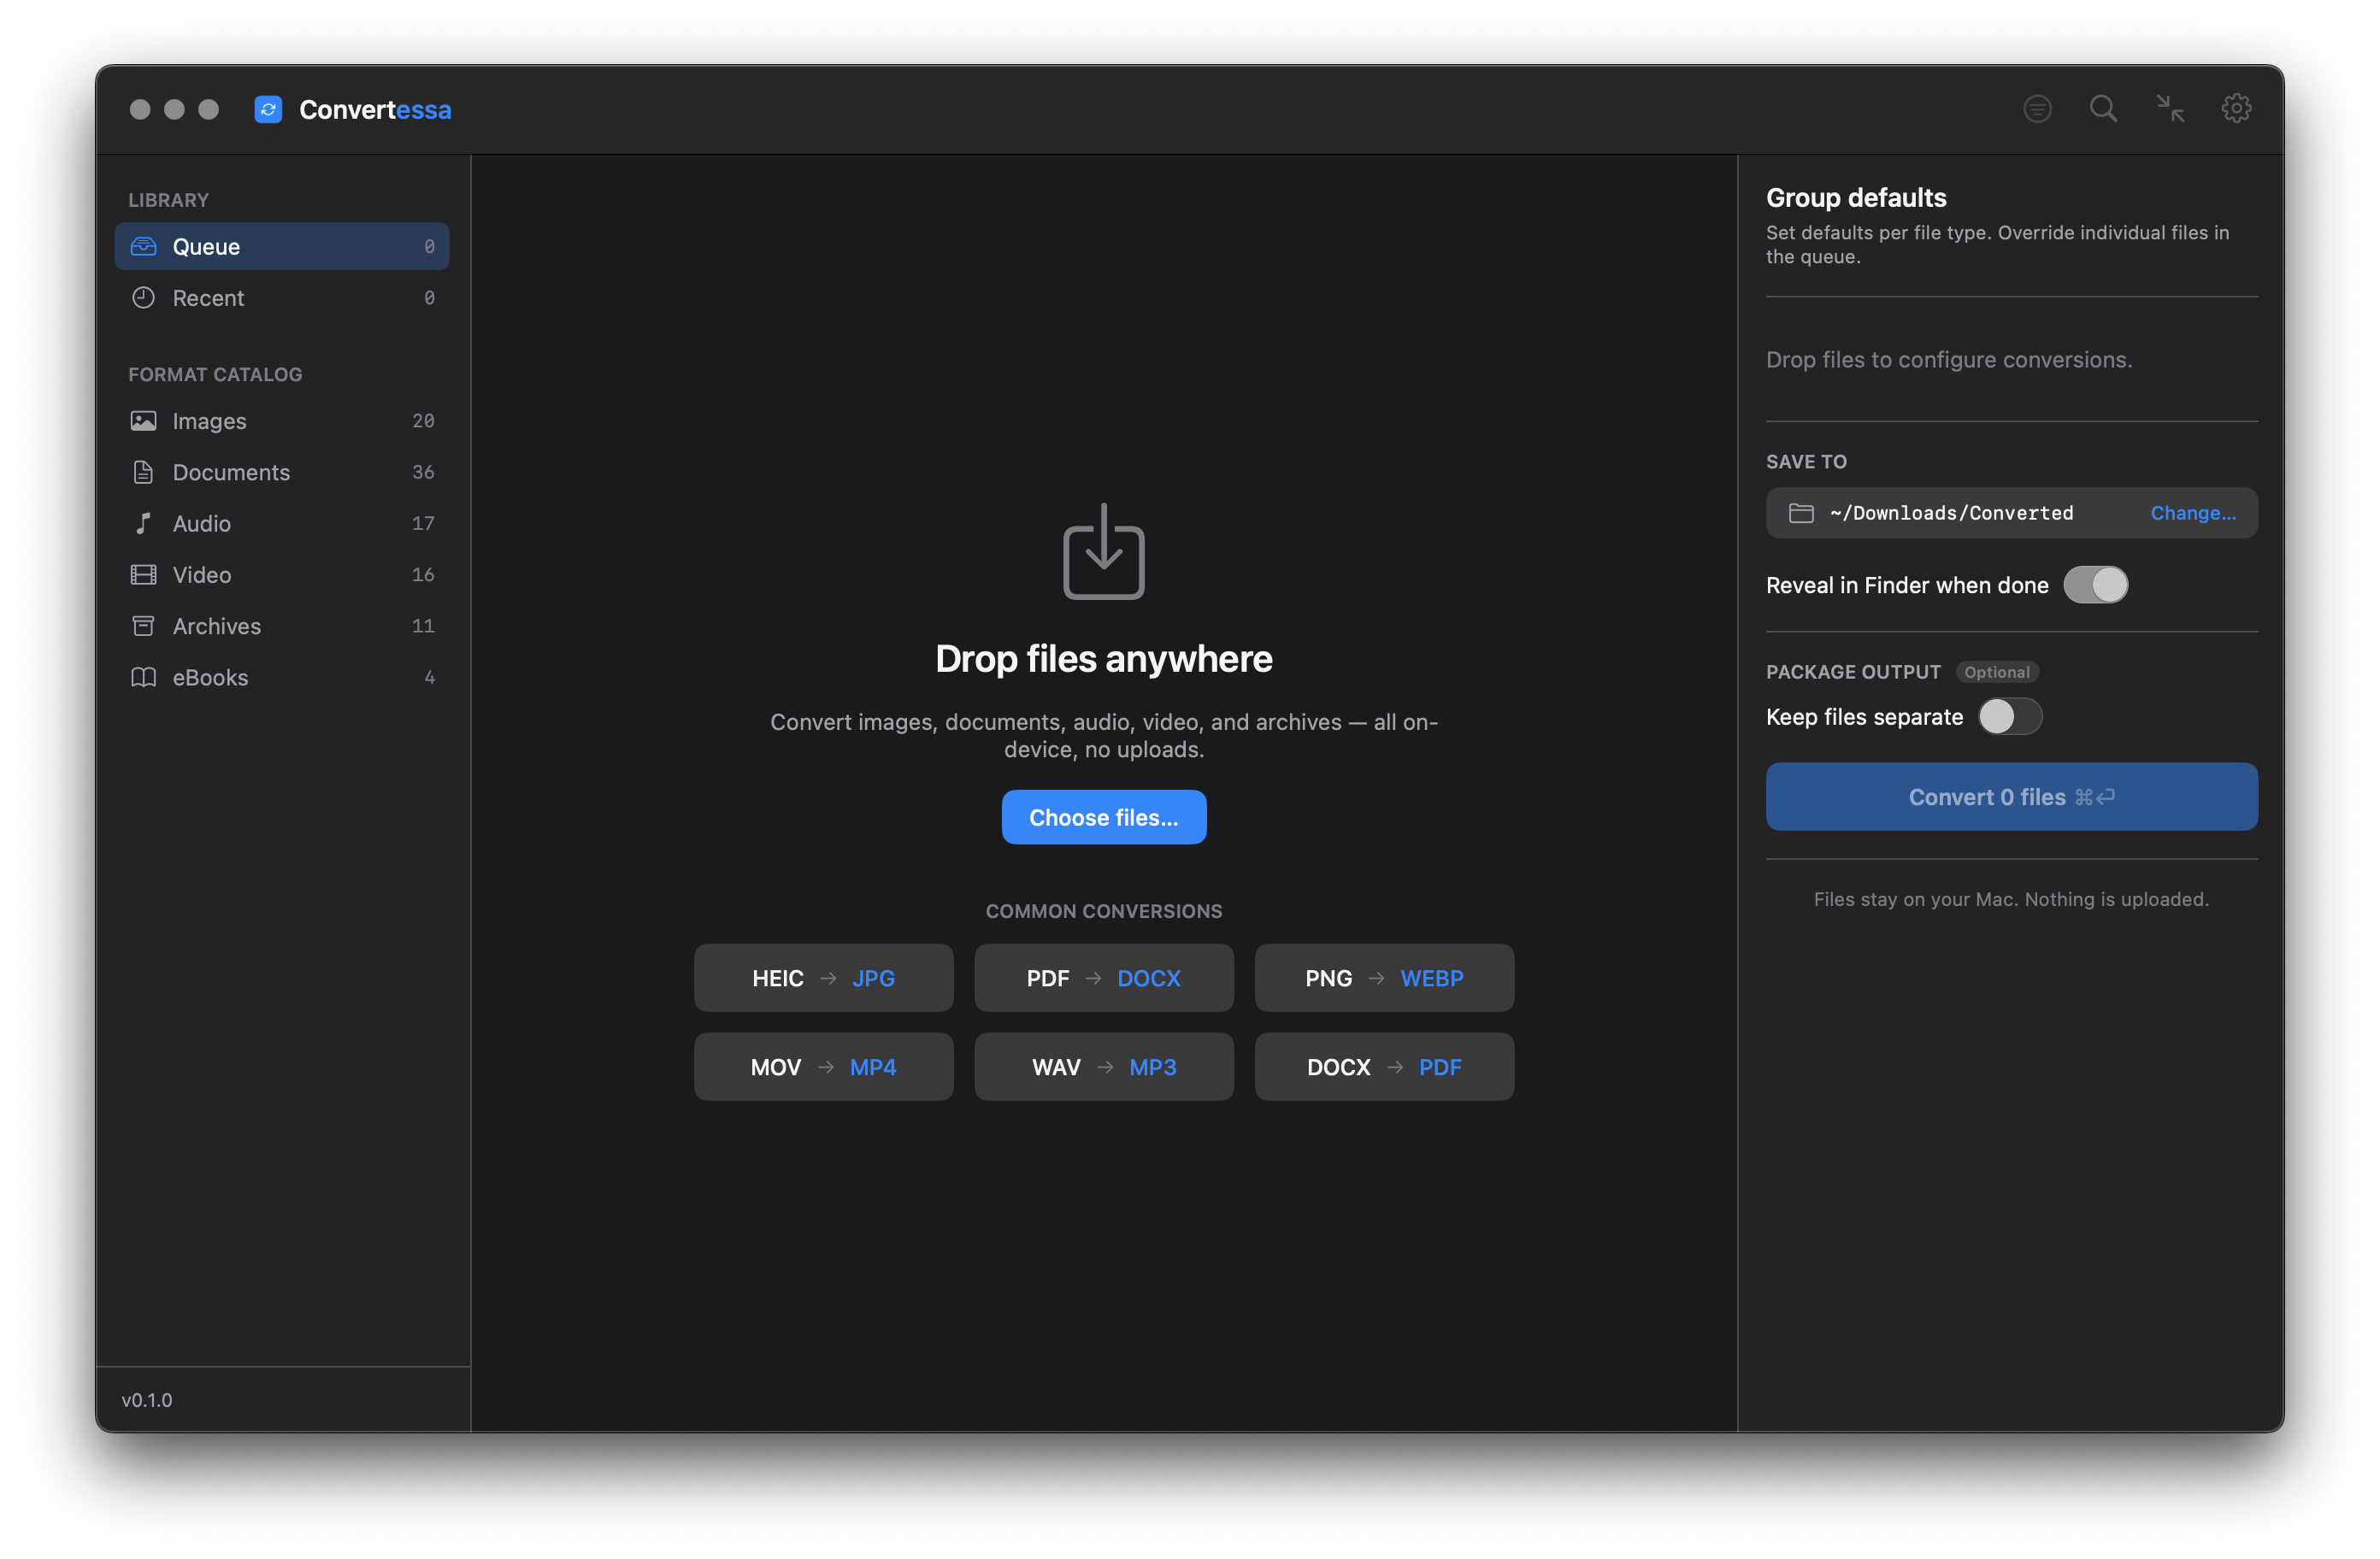
Your files stay on your Mac.
Convertessa develops each CR3 on your Mac: it decodes the CRX-compressed sensor mosaic, demosaics it into RGB, and writes a full-frame JPG at the quality you set. A 32 MB RAW typically becomes a 5 to 8 MB file that any phone, browser or print lab will open without special software. Whole card folders run in one pass, EXIF is stripped, and nothing is uploaded.
Canon introduced CR3 in 2018 with the EOS M50, retiring the TIFF-derived CR2 in favour of an entirely different container: ISO Base Media File Format, the same box structure that MP4 and HEIF are built on, wrapped around sensor data compressed with Canon's own CRX scheme.
What sits inside is not a picture. It is a single-channel mosaic — each photosite recorded one colour through the sensor's colour filter array, at 12 or 14 bits of precision. Producing a JPG means running a small pipeline over that: subtract the black level, apply white balance, demosaic the mosaic into three full channels, apply a colour matrix and a tone curve, then encode to 8-bit JPEG at the quality you chose. None of that is merely decoding. Every RAW converter makes judgement calls at each stage, which is exactly why the same CR3 comes out looking slightly different from different software.
Every CR3 also carries a full-size JPEG preview that the camera rendered with your Picture Style, Auto Lighting Optimizer and lens corrections already applied. That preview is what Finder and Quick Look show you. Those settings are recorded in the file as instructions, not baked into the sensor data, and a general-purpose converter does not replay Canon's proprietary rendering. The JPG you get is a neutral development of the same frame — frequently lower in contrast and saturation than the thumbnail you were looking at, and a starting point rather than a finished look.
The other thing you spend is latitude. The highlight headroom and shadow recovery that make RAW worth shooting live in those extra bits, and writing an 8-bit JPG cashes them in permanently. Any exposure rescue has to happen before the conversion, not after it. Keep the CR3 files — the JPG is a print, not a negative.
Drag a shoot folder straight off the card reader. Every .cr3 inside is queued, C-RAW files included, and processed one frame after another without you opening a single image first.
Choose JPG and pick a quality value. Around 85 keeps proof folders small for client selects; 95 protects the fine texture in foliage, hair and fabric that low values smear first.
Start the batch. Each frame is demosaiced and encoded locally — no cloud RAW service, no Canon software needed — and the JPGs are written to the destination folder you picked.
Images, audio, video, documents, archives, eBooks and fonts — all converted natively, right on your Mac.
Pick a format you have — see everything Convertessa can turn it into.
Convert hundreds of files at once with per-type group defaults and individual overrides.
First-class support for HEIC, AVIF and WebP — encode and decode, both ways. Read JPEG XL and a dozen more modern formats too.
Drop files anywhere on the window. Native, instant, and exactly what you’d expect on a Mac.
Dial in compression, resolution and bitrate. Keep originals pristine or shrink for sharing.
Never overwrite a file by accident. Convertessa appends safe suffixes automatically.
Every job is logged locally. Re-run a previous conversion or revisit recent outputs in a click.
Bundle your converted files straight into a single ZIP, TAR or 7z — packaged and ready to share the moment a job finishes.
Right-click any file in Finder and choose Convert. A Quick Action handles it on the spot — no need to open the app first.
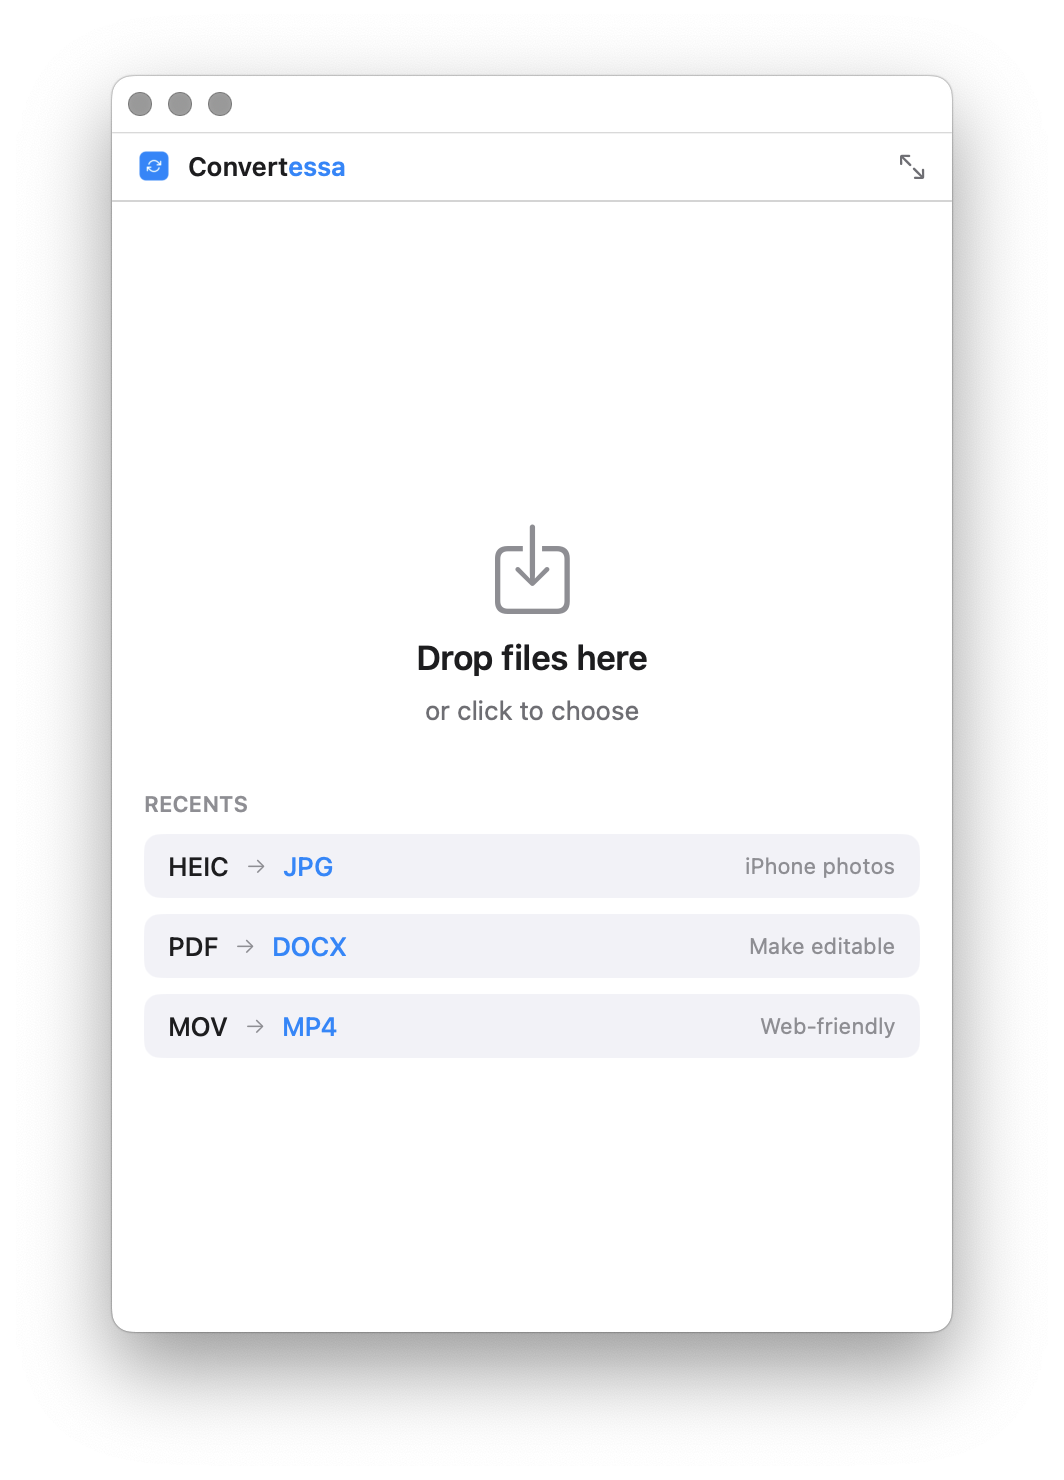
Shrink Convertessa to a tidy mini window that tucks into a corner — just a drop zone and a format picker for quick, one-off conversions.
No cloud. No account. No upload. Every conversion happens entirely on-device, using the power already in your Mac. What you convert is nobody’s business but yours.
Script conversions, wire them into your build, or batch a folder from the terminal. The same engine, no GUI required.
Read the full CLI documentation →Shrink Convertessa down to a small, focused window — drop, convert, done, with your recent conversions one click away.
macOS 14+ · Apple Silicon & Intel
New formats, new features, and fixes — every release, on the record.
No. Picture Style, Auto Lighting Optimizer, Highlight Tone Priority and lens corrections are stored in the CR3 as settings, and applying them is Canon's own proprietary rendering. A general converter develops the sensor data neutrally instead. That is why the output can look flatter than the camera's preview — the pixels are all there, but Canon's interpretation of them is not.
C-RAW is Canon's compact RAW option, and it still writes a .CR3 file — same container, lossier compression, roughly 40 percent smaller. It converts exactly the same way. The one difference is what you started with: a C-RAW frame already discarded some data inside the camera, so it has slightly less headroom to give before the JPG is written.
CR3 is not one fixed layout. Canon adjusts the CRX encoding and the sensor metadata with new bodies, so a file from a very recently released camera can predate the decoder's knowledge of it. Files that open in Canon's own software but nowhere else are the classic symptom. An updated engine usually fixes it; until then, in-camera JPEG or a DNG export is the workaround.
A DPRAW file stores a second sub-image built from one half of each pixel pair, which is what makes Canon's micro-adjustment tricks possible in Digital Photo Professional. Conversion uses the main image, so the JPG looks exactly as it should — but the dual-pixel data has no equivalent in JPG and is not carried over. Do that work in DPP first if you need it.
Point the CLI at the card's image folder. Cameras write the extension in capitals, so match it:
convertessa ~/Pictures/Shoot/*.CR3 --to jpg --quality 92 -o ~/Deliver
Each frame lands in ~/Deliver under its original base name, so IMG_4821.CR3 becomes IMG_4821.jpg and the numbering stays in step with your originals.
Yes — the whole frame the sensor recorded. Worth knowing if you shot with an in-camera aspect ratio such as 1:1 or 16:9: on a RAW file that is recorded as a tag describing how the frame should be displayed, not as a change to the data itself. The developed JPG can therefore be wider than what you framed on the rear screen.
No. Demosaicing and 8-bit encoding are one-way — the mosaic, the extra bits and the highlight headroom are gone from the output for good. Archive the CR3 files even after delivering JPGs; re-developing an original three years later with better software is routine, while re-developing a JPG is impossible.
Edit first, always. Exposure, white balance and highlight recovery all want the full-precision sensor data, and every one of them is cheaper to do before the 8-bit encode than after it. Treat CR3 to JPG as the delivery step at the end of your process, not the import step at the start of it.