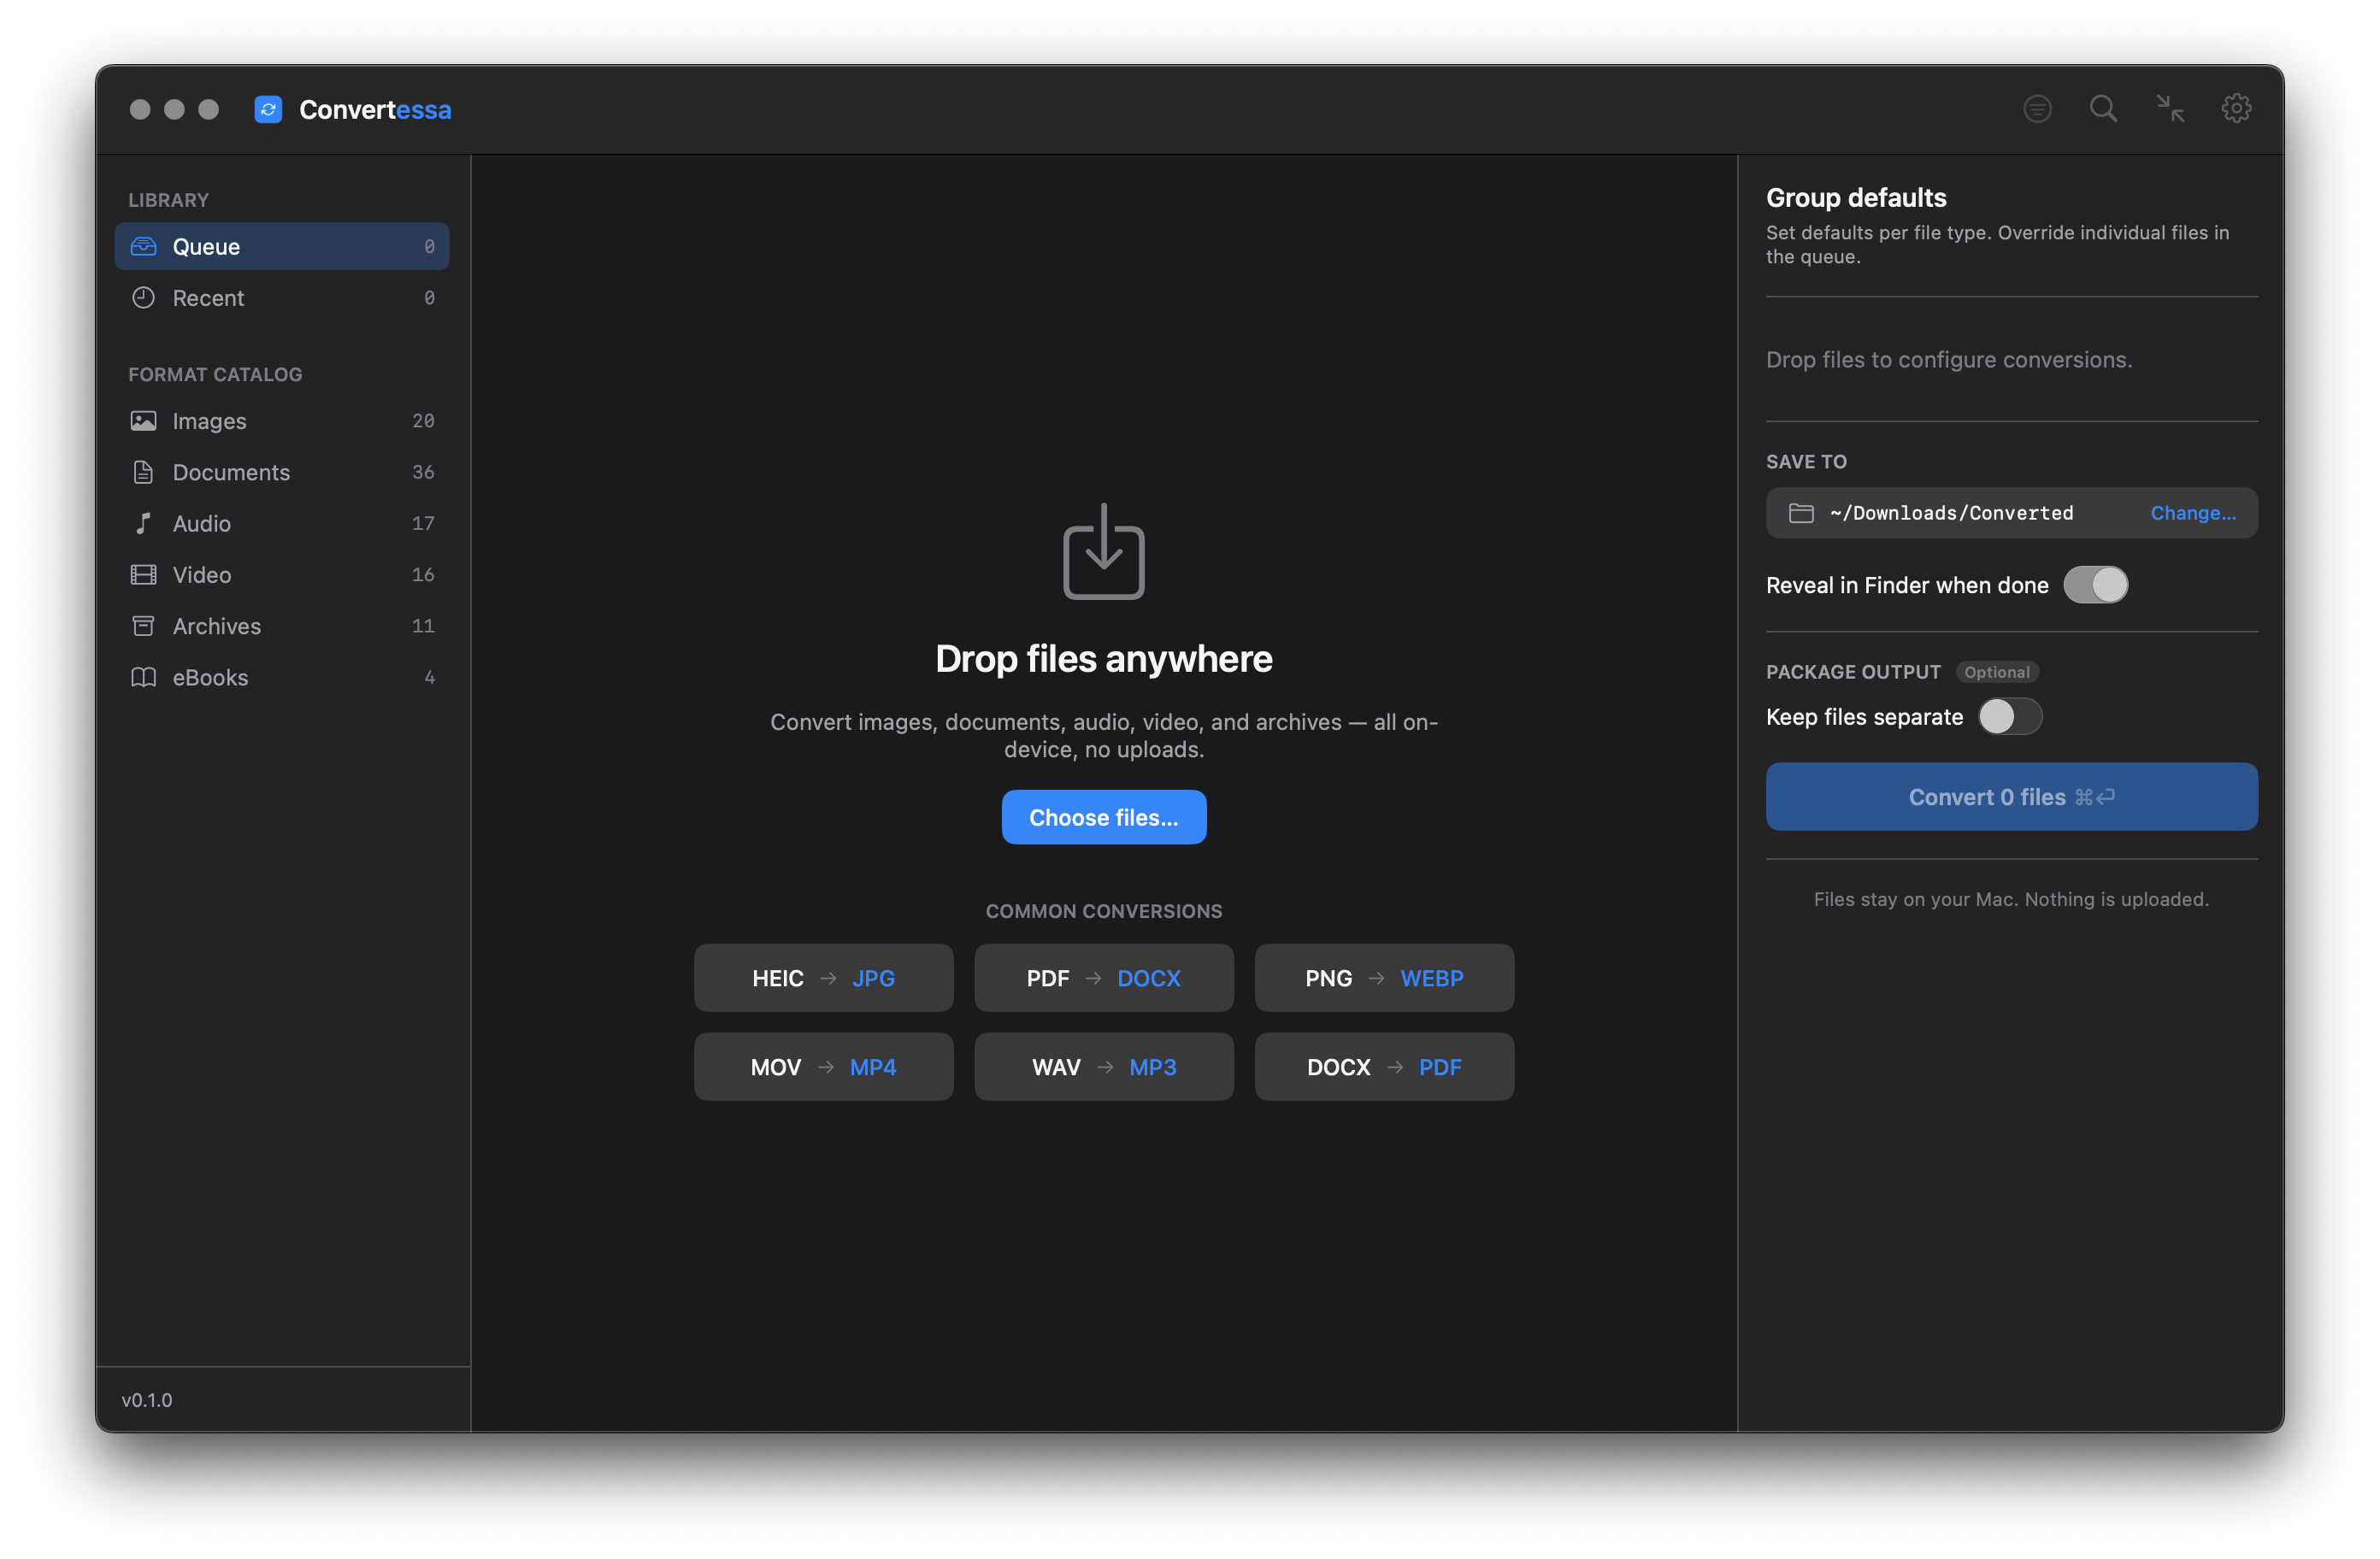
Your files stay on your Mac.
Convertessa hands each PNG to libvips and writes a lossy WebP with the same pixel count, at the quality value you choose before the run starts. Transparency is carried across in its own lossless plane, so cut-outs and drop shadows stay clean. Drop a single export or a folder of several thousand and the whole batch runs in one pass on your Mac.
PNG stores exact pixels. Every byte a PNG decoder hands back is the byte that went in, which is why it became the default for screenshots, UI exports, logos and anything sitting on a transparent background. Lossy WebP works on an entirely different principle: it borrows the still-frame coder from Google's VP8 video codec and discards the detail your eye is least likely to miss.
The most important consequence is chroma subsampling. Before encoding, lossy WebP converts your RGB pixels into one brightness channel and two colour channels, then stores the colour channels at half width and half height. Brightness detail survives; colour detail does not. On a photograph this is invisible. On a screenshot of red syntax-highlighted code, a thin cyan hairline, or saturated type on a coloured field, the edges bleed a little at any quality value.
tEXt and zTXt chunks a PNG can carry (Stable Diffusion generation parameters, authoring notes, custom keywords) have no home in the WebP output.libvips does the work here, which is why a folder of several thousand PNGs finishes without your Mac paging to disk: it streams each image in horizontal strips instead of holding a whole bitmap in memory. Push quality to the high eighties or low nineties for anything containing text or flat colour, and drop into the seventies for photographic material. Convertessa does not crop or resize, so the WebP comes out with exactly as many pixels as the PNG went in with.
Drag a single export, a Finder selection, or an entire assets folder into the queue. libvips streams each PNG in strips rather than loading it whole, so a few thousand files will not exhaust memory.
Choose WebP and set the quality value. The high eighties keep text edges and flat colour fields honest, while the mid seventies is usually plenty for photographs and cuts the file considerably further.
Run the batch, then open one text-heavy result at full size beside its PNG. Colour subsampling shows on saturated type first, so that is the image that tells you whether to raise the quality value.
Images, audio, video, documents, archives, eBooks and fonts — all converted natively, right on your Mac.
Pick a format you have — see everything Convertessa can turn it into.
Convert hundreds of files at once with per-type group defaults and individual overrides.
First-class support for HEIC, AVIF and WebP — encode and decode, both ways. Read JPEG XL and a dozen more modern formats too.
Drop files anywhere on the window. Native, instant, and exactly what you’d expect on a Mac.
Dial in compression, resolution and bitrate. Keep originals pristine or shrink for sharing.
Never overwrite a file by accident. Convertessa appends safe suffixes automatically.
Every job is logged locally. Re-run a previous conversion or revisit recent outputs in a click.
Bundle your converted files straight into a single ZIP, TAR or 7z — packaged and ready to share the moment a job finishes.
Right-click any file in Finder and choose Convert. A Quick Action handles it on the spot — no need to open the app first.
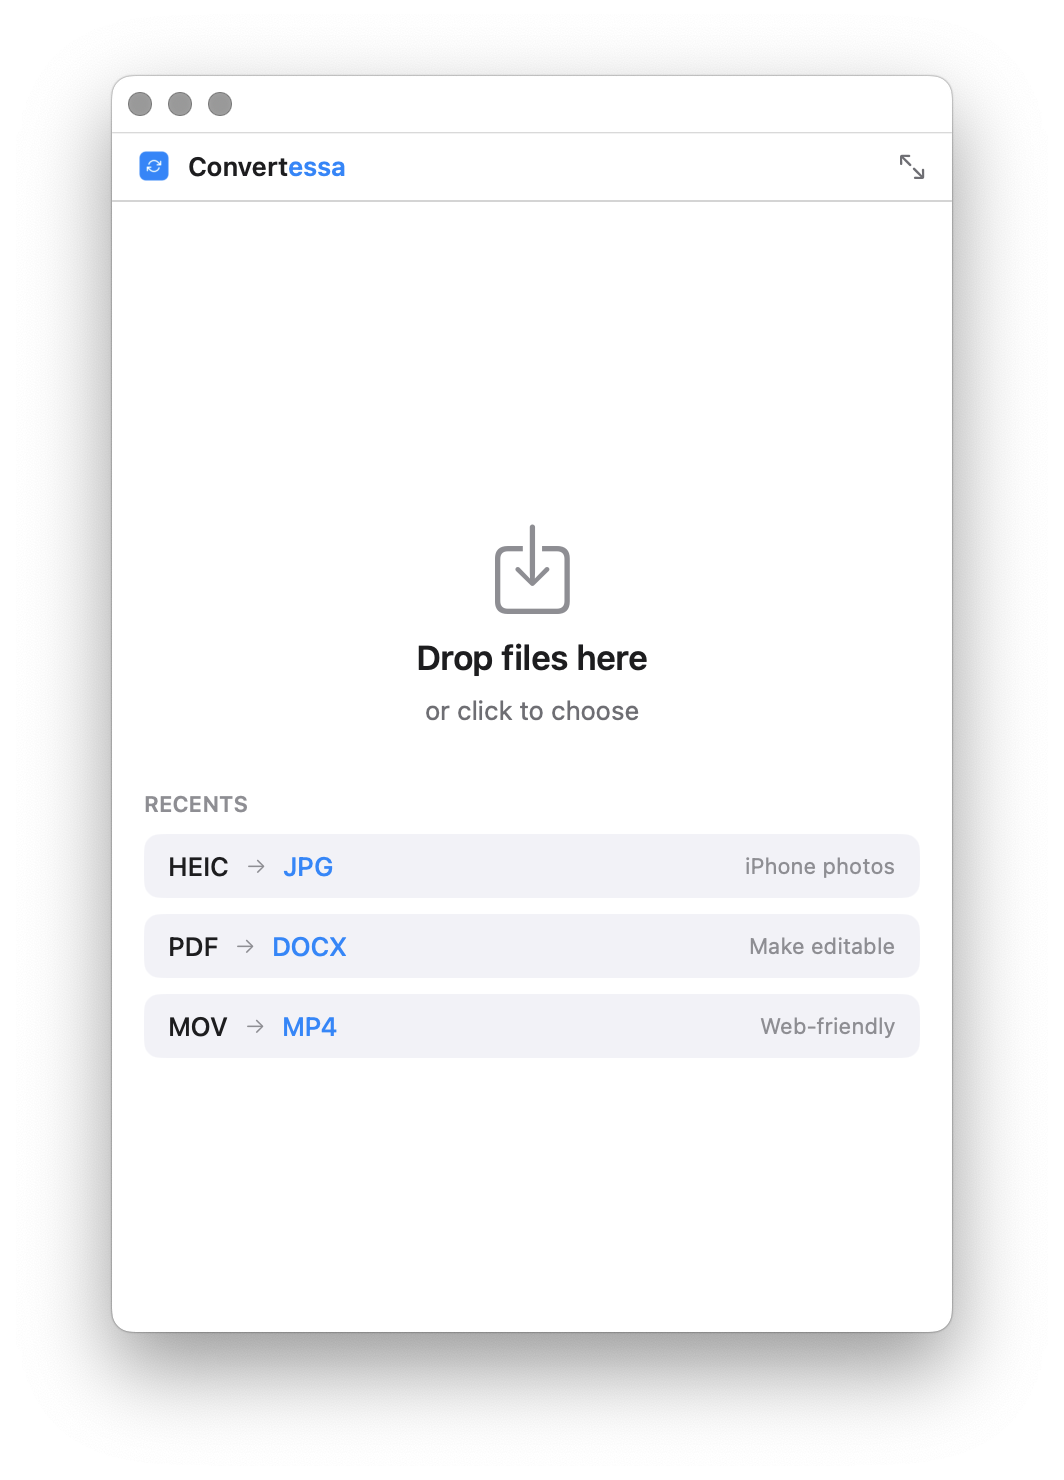
Shrink Convertessa to a tidy mini window that tucks into a corner — just a drop zone and a format picker for quick, one-off conversions.
No cloud. No account. No upload. Every conversion happens entirely on-device, using the power already in your Mac. What you convert is nobody’s business but yours.
Script conversions, wire them into your build, or batch a folder from the terminal. The same engine, no GUI required.
Read the full CLI documentation →Shrink Convertessa down to a small, focused window — drop, convert, done, with your recent conversions one click away.
macOS 14+ · Apple Silicon & Intel
New formats, new features, and fixes — every release, on the record.
That is chroma subsampling, not a bad setting. Lossy WebP stores colour at half resolution in both directions, so a hard red-on-white edge has only half as many colour samples as it does brightness samples. Raising quality to the low nineties reduces the fringe but never removes it, because the subsampling happens before the quality value is applied. For screenshots of code, UI mockups and anything with saturated type, keep the PNG as your master and treat the WebP purely as a delivery copy.
Yes. WebP compresses alpha separately from colour, and that plane is lossless, so anti-aliased edges, rounded corners and soft shadows stay crisp. One caveat: the colour values hiding underneath fully transparent pixels are not guaranteed to be preserved. If your artwork depends on those hidden pixels (some compositing tricks and sprite sheets do), check the result before you throw the PNG away.
It happens with flat-colour graphics. A small icon saved as an 8-bit indexed PNG with a 16-colour palette is already extremely compact, and lossy WebP has to spend bits describing smooth-ish blocks it cannot represent as a palette. Photographs almost always shrink dramatically; logos, sprites and simple diagrams sometimes do not. Convert one representative file first, compare the two sizes, and only then run the batch.
It is reduced to 8 bits per channel, because WebP has no deeper mode. For photographic work the difference is usually invisible. For a scan of film, an HDR render or a smooth studio backdrop, the extra tonal steps are what keep a gradient from banding, and once they are gone no later edit brings them back. Keep the 16-bit PNG or a TIFF as the archival copy.
WebP can carry an embedded ICC profile, so wide-gamut work is not automatically collapsed to sRGB. The risk is on the reading end: any viewer that ignores the profile will interpret P3 numbers as sRGB, and saturated reds and greens will look oversaturated. If your images are headed for the open web, it is safer to convert to sRGB in your editor before exporting the PNG.
Point the CLI at the files and give it a destination:
convertessa ~/Exports/*.png --to webp --quality 88 -o ~/Exports/webp
Every PNG in the folder is encoded in one pass and the results land in the destination folder with their names intact. Because --quality only applies where the target is lossy, it is meaningful here in a way it would not be for a PNG or TIFF target.
Yes. Lossy WebP is a one-way door: converting the WebP back to PNG produces a file that is lossless from that moment on but still contains the detail loss already baked in. Treat the PNG as the master and regenerate WebP whenever you change your quality target, rather than re-encoding an existing WebP, which stacks one generation of loss on top of another.